Alderlea T5 Specifications
Browse online or download Specifications for Fireplaces Alderlea T5. Alderlea T5 Specifications User Manual
- Page / 20
- Table of contents
- BOOKMARKS
- SERIAL # 1
- Contents 2
- Maintenance Checks 4
- Creosote 5
- Appliance Dimensions 6
- Installation 7
- Floor Protector 8
- Chimney and Connector 9
- Installation Procedure 9
- Firebrick Installation 10
- Combustion Air 11
- Operation 12
- How to Test Your Wood 13
- Lighting for the First Time 13
- Lighting a Fire 13
- Normal Operation 13
- Ash Removal 14
- Proper Draft 14
- Baffle Removal 15
- APPENDIX A 16
- Replacement Parts 17
- 170314-20 ALT5 18
- MADE IN CANADA 19
- PRINTED IN CANADA 20
Summary of Contents
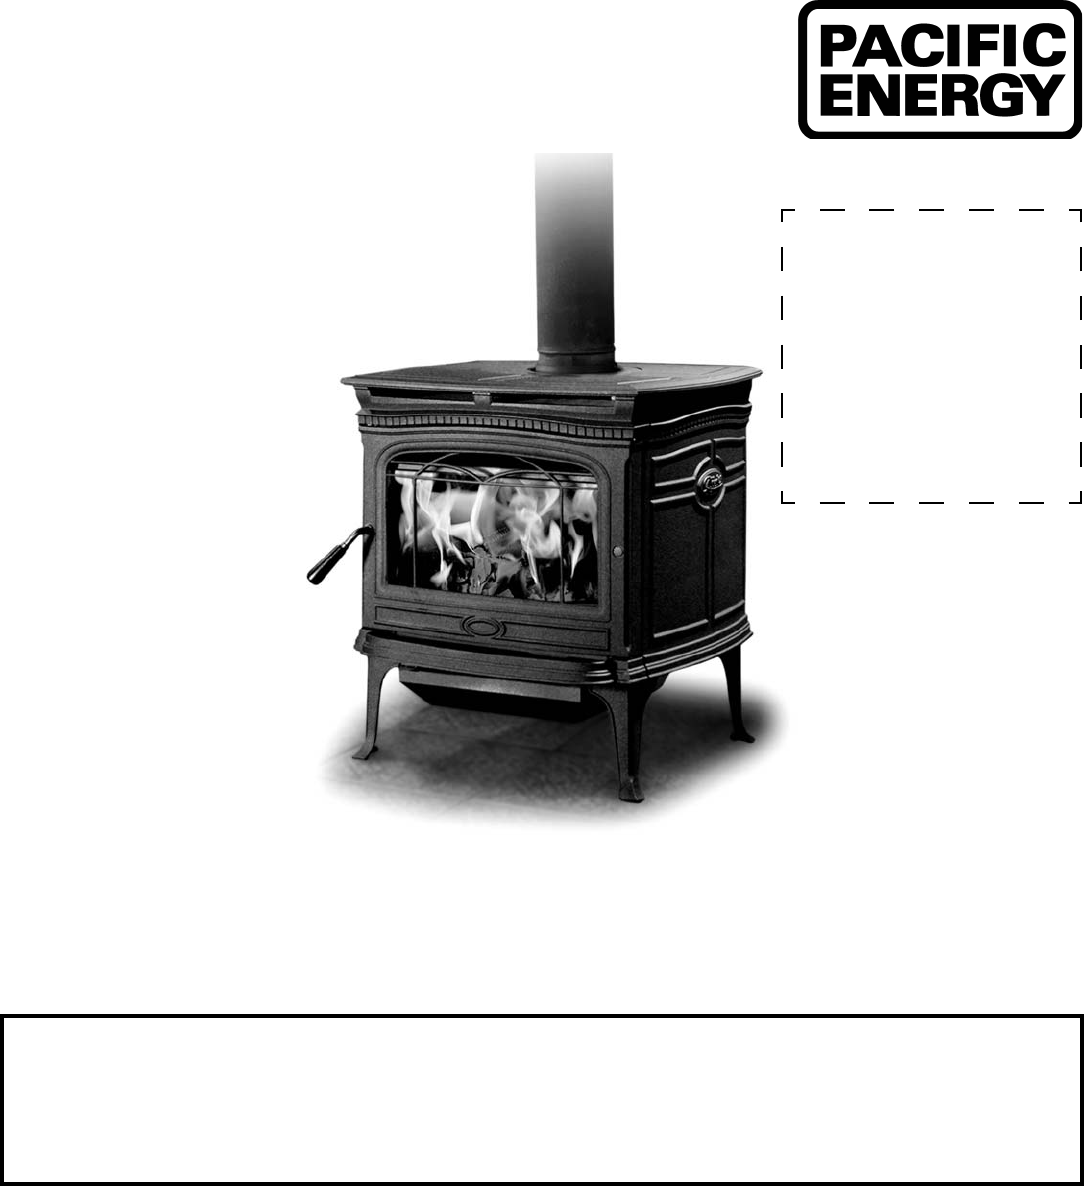
Keep these instructions for future reference.INSTALLATION & OPERATION GUIDEALDERLEA T5 CAST IRON WOOD STOVEMODEL: ALDERLEA - T5, T5 CLASSIC SERIES
10 170314-20 ALT5Firebrick InstallationThis package contains 18 full-size rebricks, as well as 3 various cut bricks.With the woodstove in the
Intake or combustion air can be supplied to the stove in one of two ways. Consult your local building codes before proceeding.1. Outside air supply -
12 170314-20 ALT5OperationCAUTION: Never use gasoline, gasoline type lantern fuel, kerosene, charcoal lighter uid or similar liquids to start
13170314-20 ALT5How to Test Your WoodAdd a large piece of wood to the stove when it has a good large bed of coals. It is dry if it is burning on more
14 170314-20 ALT5WARNING: Do not use grates or andirons to elevate the fuel. Burn directly on the re bricks. Replace broken or missing bric
15170314-20 ALT5Chimney connector pipe should be disconnected from stove to clean and inspect. Only if this is not possible should you remove baffle
16 170314-20 ALT5Problem Cause CureGlass is Dirty 1. Wood is wet • Use dry wood 2. Turning down air control • Do not turn down until
17170314-20 ALT5Replacement Parts#1#2#3#4#5#6#7#8#6#94b4a4c4d4f4e10111213141517#1 BAFFLE KIT ...SSER.DBAKIT#2 BR
18 170314-20 ALT5
19170314-20 ALT5Compliance Plate300114 5050.42ASModel: ALDERLEA T5, SUPER 27, SPECTRUM,SPECTRUM CLASSIC, FUSION, STED D1Series: D Type: FREESTANDI
NOTE: WE STRONGLY RECOMMEND THAT SMOKE DETECTORS BE INSTALLED.If smoke detectors have been previ-ously installed, you may notice that they are operati
PACIFIC ENERGY FIREPLACE PRODUCTS LTD.Web site: www.paci cenergy.net2975 Allenby Rd., Duncan, BC V9L 6V8PRINTED IN CANADA
3170314-20 ALT5Safety and Maintenance1. Burn only dry, well seasoned wood. The denser or heavier the wood when dry, the greater its heat value. This
4 170314-20 ALT5Check the following parts for damage such as cracks, excessive corrosion, burned out sections and excessive warping: (See websit
5170314-20 ALT5CreosoteFormation and Need for RemovalWhen wood is burned slowly, it produces tar and other organic vapours, which combine with expelle
Fig #1Appliance DimensionsOutside Air Opening Dimensions635mm724mm257mm756mm6 170314-20 ALT5If You Suspect a Chimney FireSigns of a chimney re
Do not connect this unit to a chimney ue serving another appliance.7170314-20 ALT5Installation Warning: Under no circumstances is this heater to be
559mm350mm375mm762mm893mm275mm275mmFig #2SINGLE WALL CONNECTORMinimum Clearances to Combustibles The stove may be installed on a combustible oor pro
Chimney and ConnectorWARNING: INSTALL CHIMNEY AND ALL COMPONENTS OF CHIMNEY SYSTEM ACCORDING TO CHIMNEY MANUFACTURER’S INSTRUCTIONS.Connect to a liste
More documents for Fireplaces Alderlea T5

Related products and manuals for Fireplaces Alderlea T5
 (24 pages)
© 2020, manymanuals.com. All rights reserved. | 0.854 s |
 Manymanuals.com
 Manymanuals.de
 Manymanuals.fr
 Manymanuals.it
 Manymanuals.pl
 Manymanuals.cz
 Manymanuals.es
 Manymanuals-pt.com
Comments to this Manuals